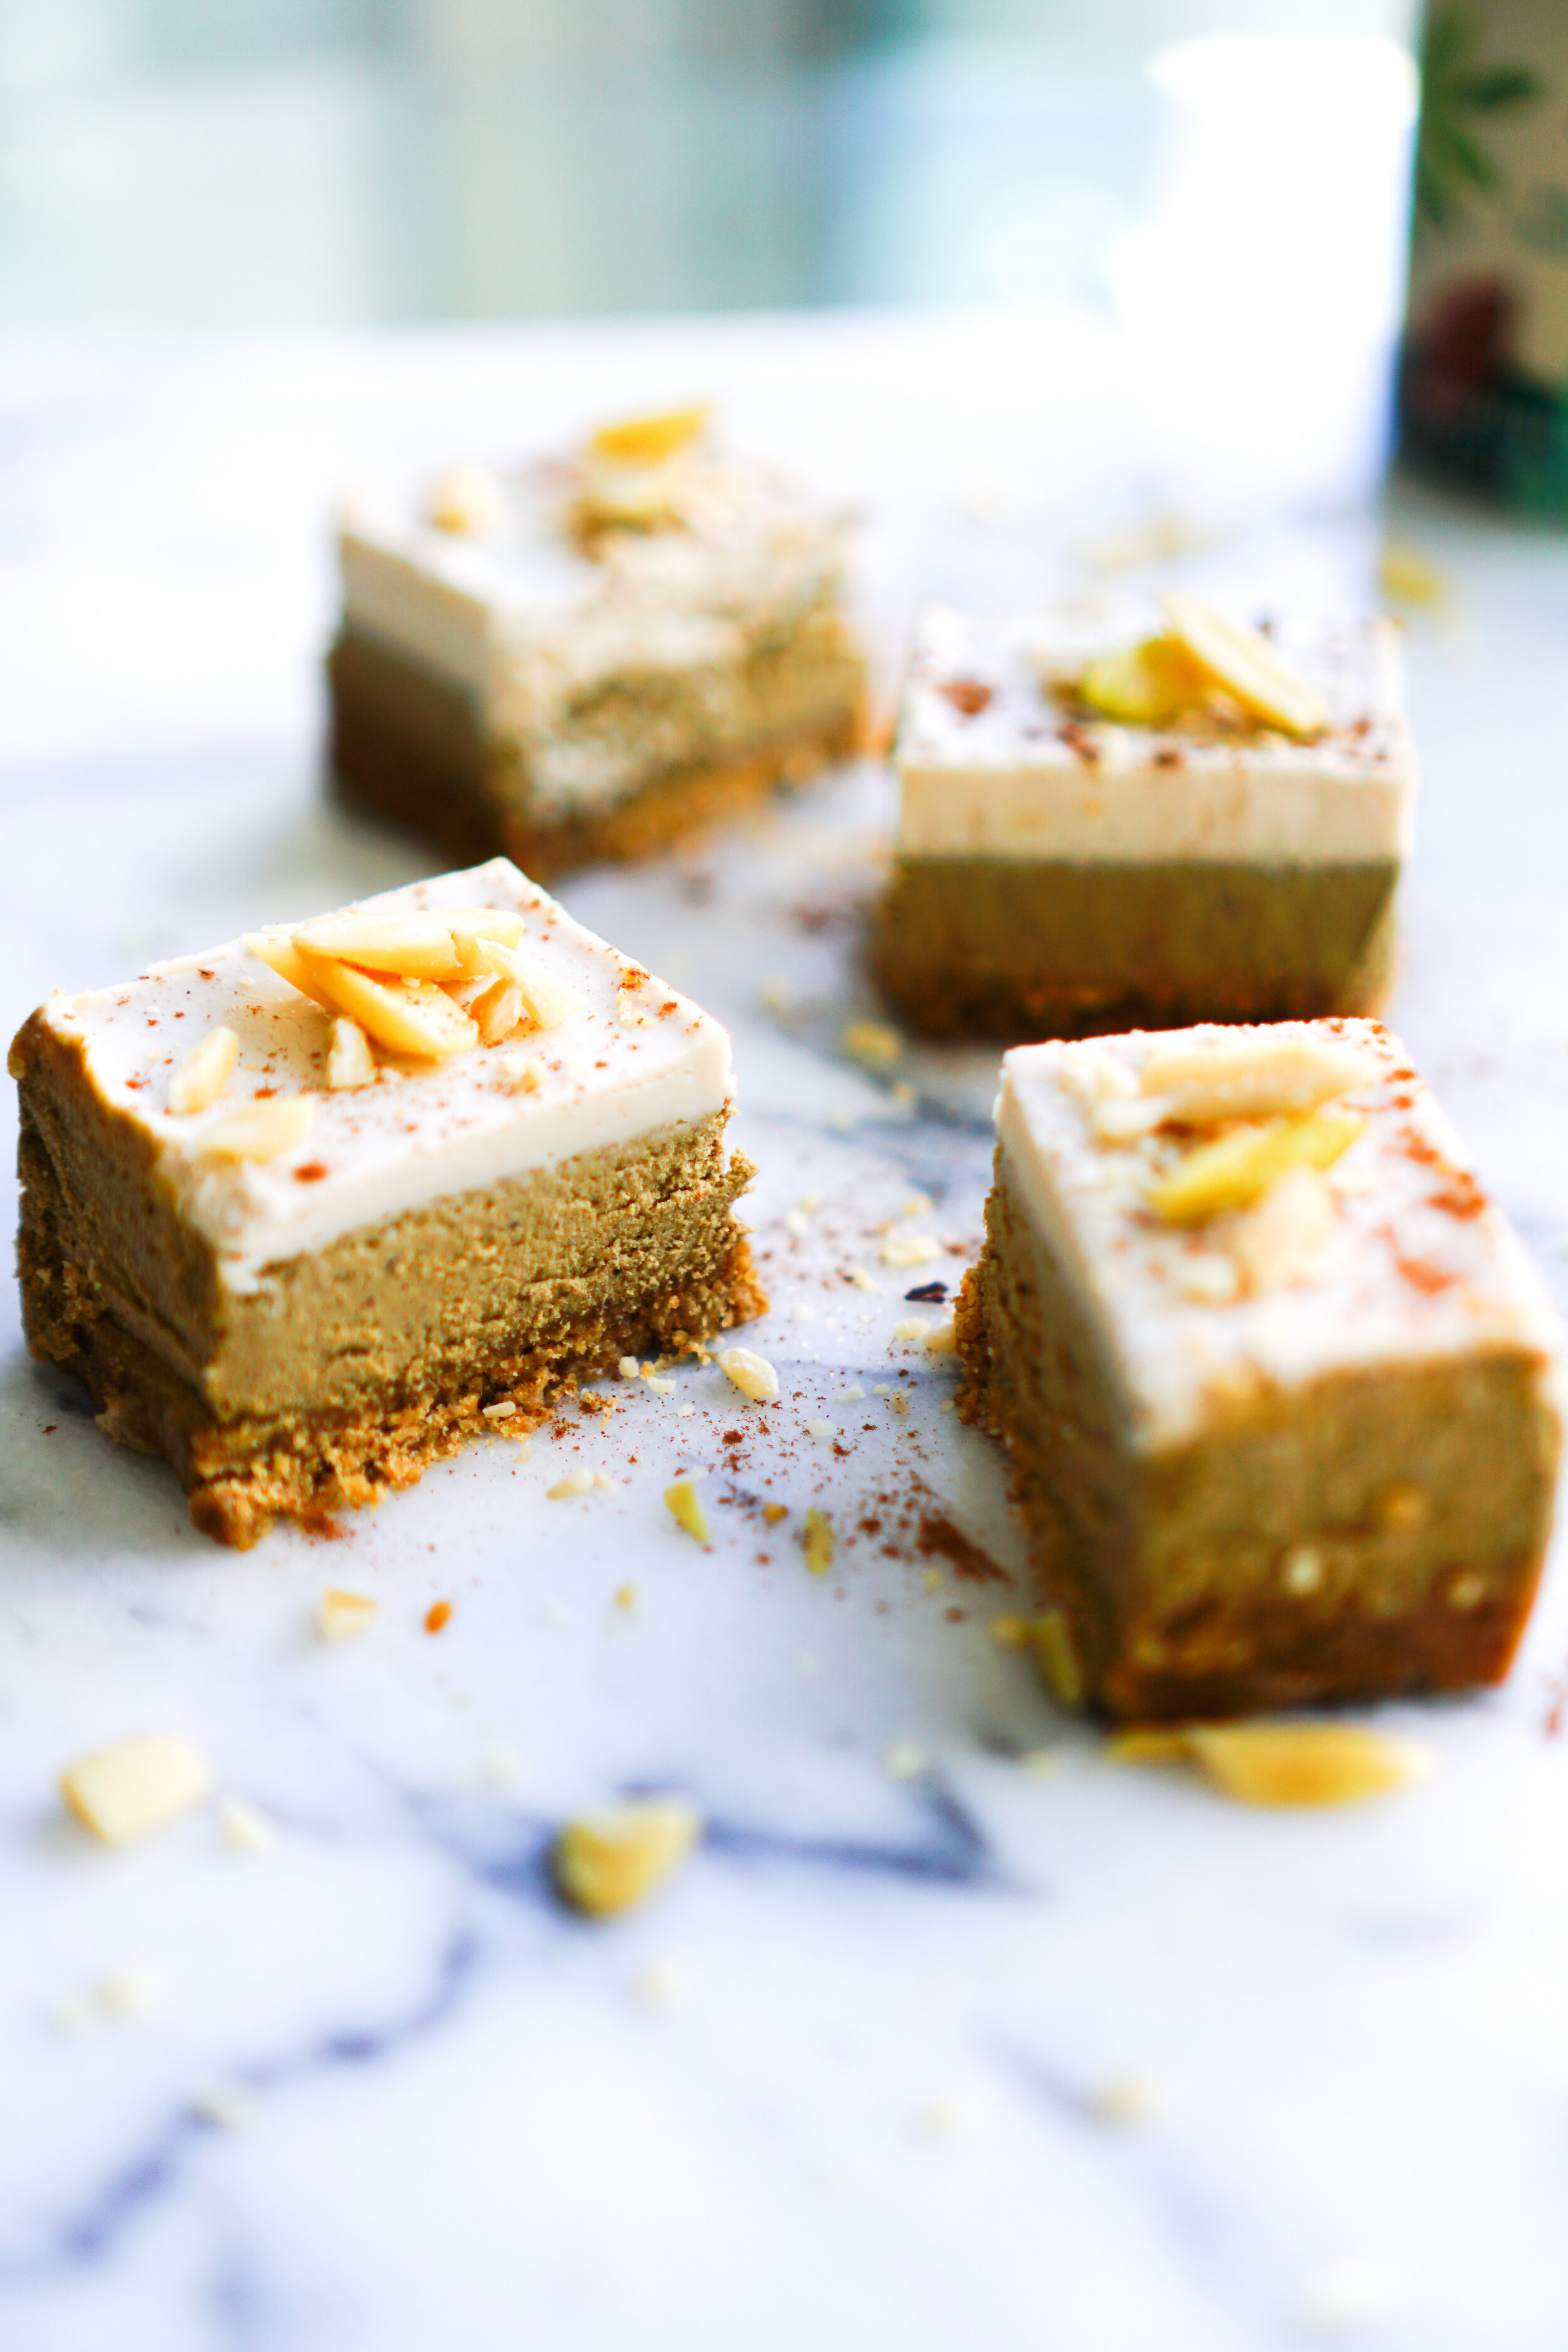
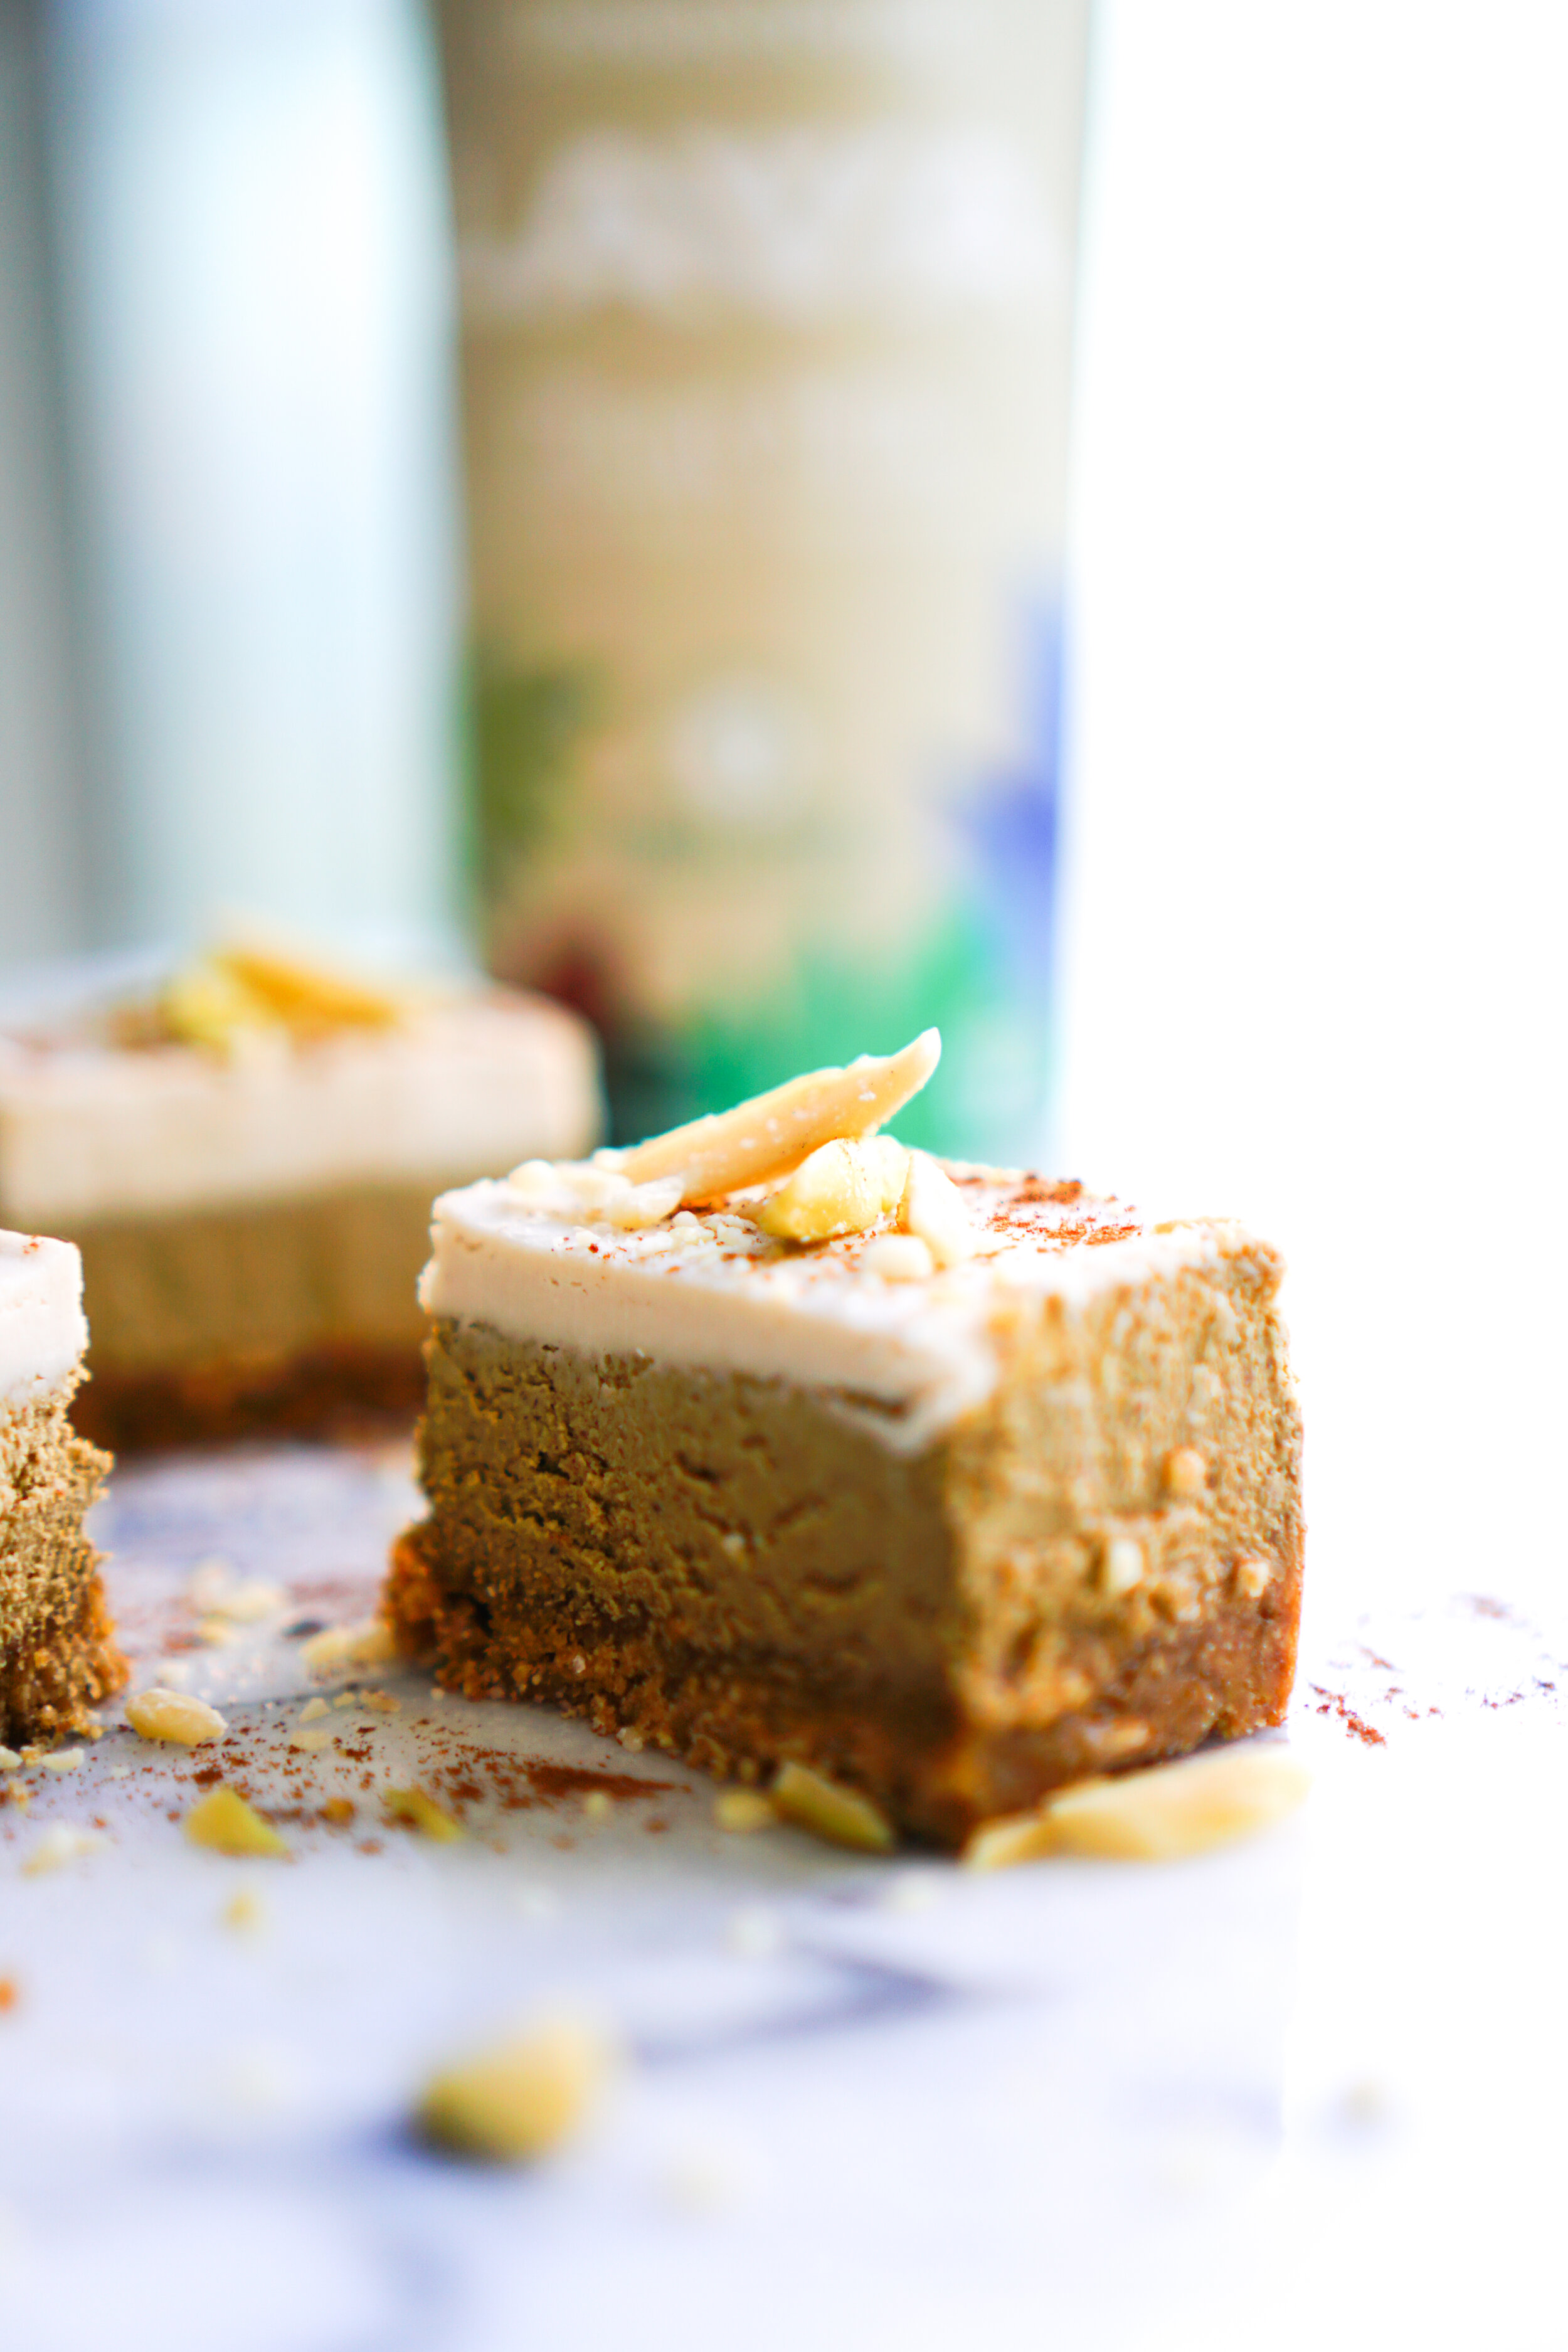
No-Bake Plant-Based Pumpkin Pie (Plant-Based/Vegan)
Hello, pumpkin! This is love at first bite. 🍂😋
I can’t help wanting pumpkin pie on Thanksgiving. It’s a national tradition and it's what we do. I am a cheeky traditionalist and this recipe is a clear reflection of that.
In my effort to create THE perfect classic pumpkin pie recipe, I landed on one that isn’t classic at all using Lavva pili nut milk and a pili nut-walnut crust. There's no baking involved in this recipe, which is a win for me. Simple ingredients and so delicious.
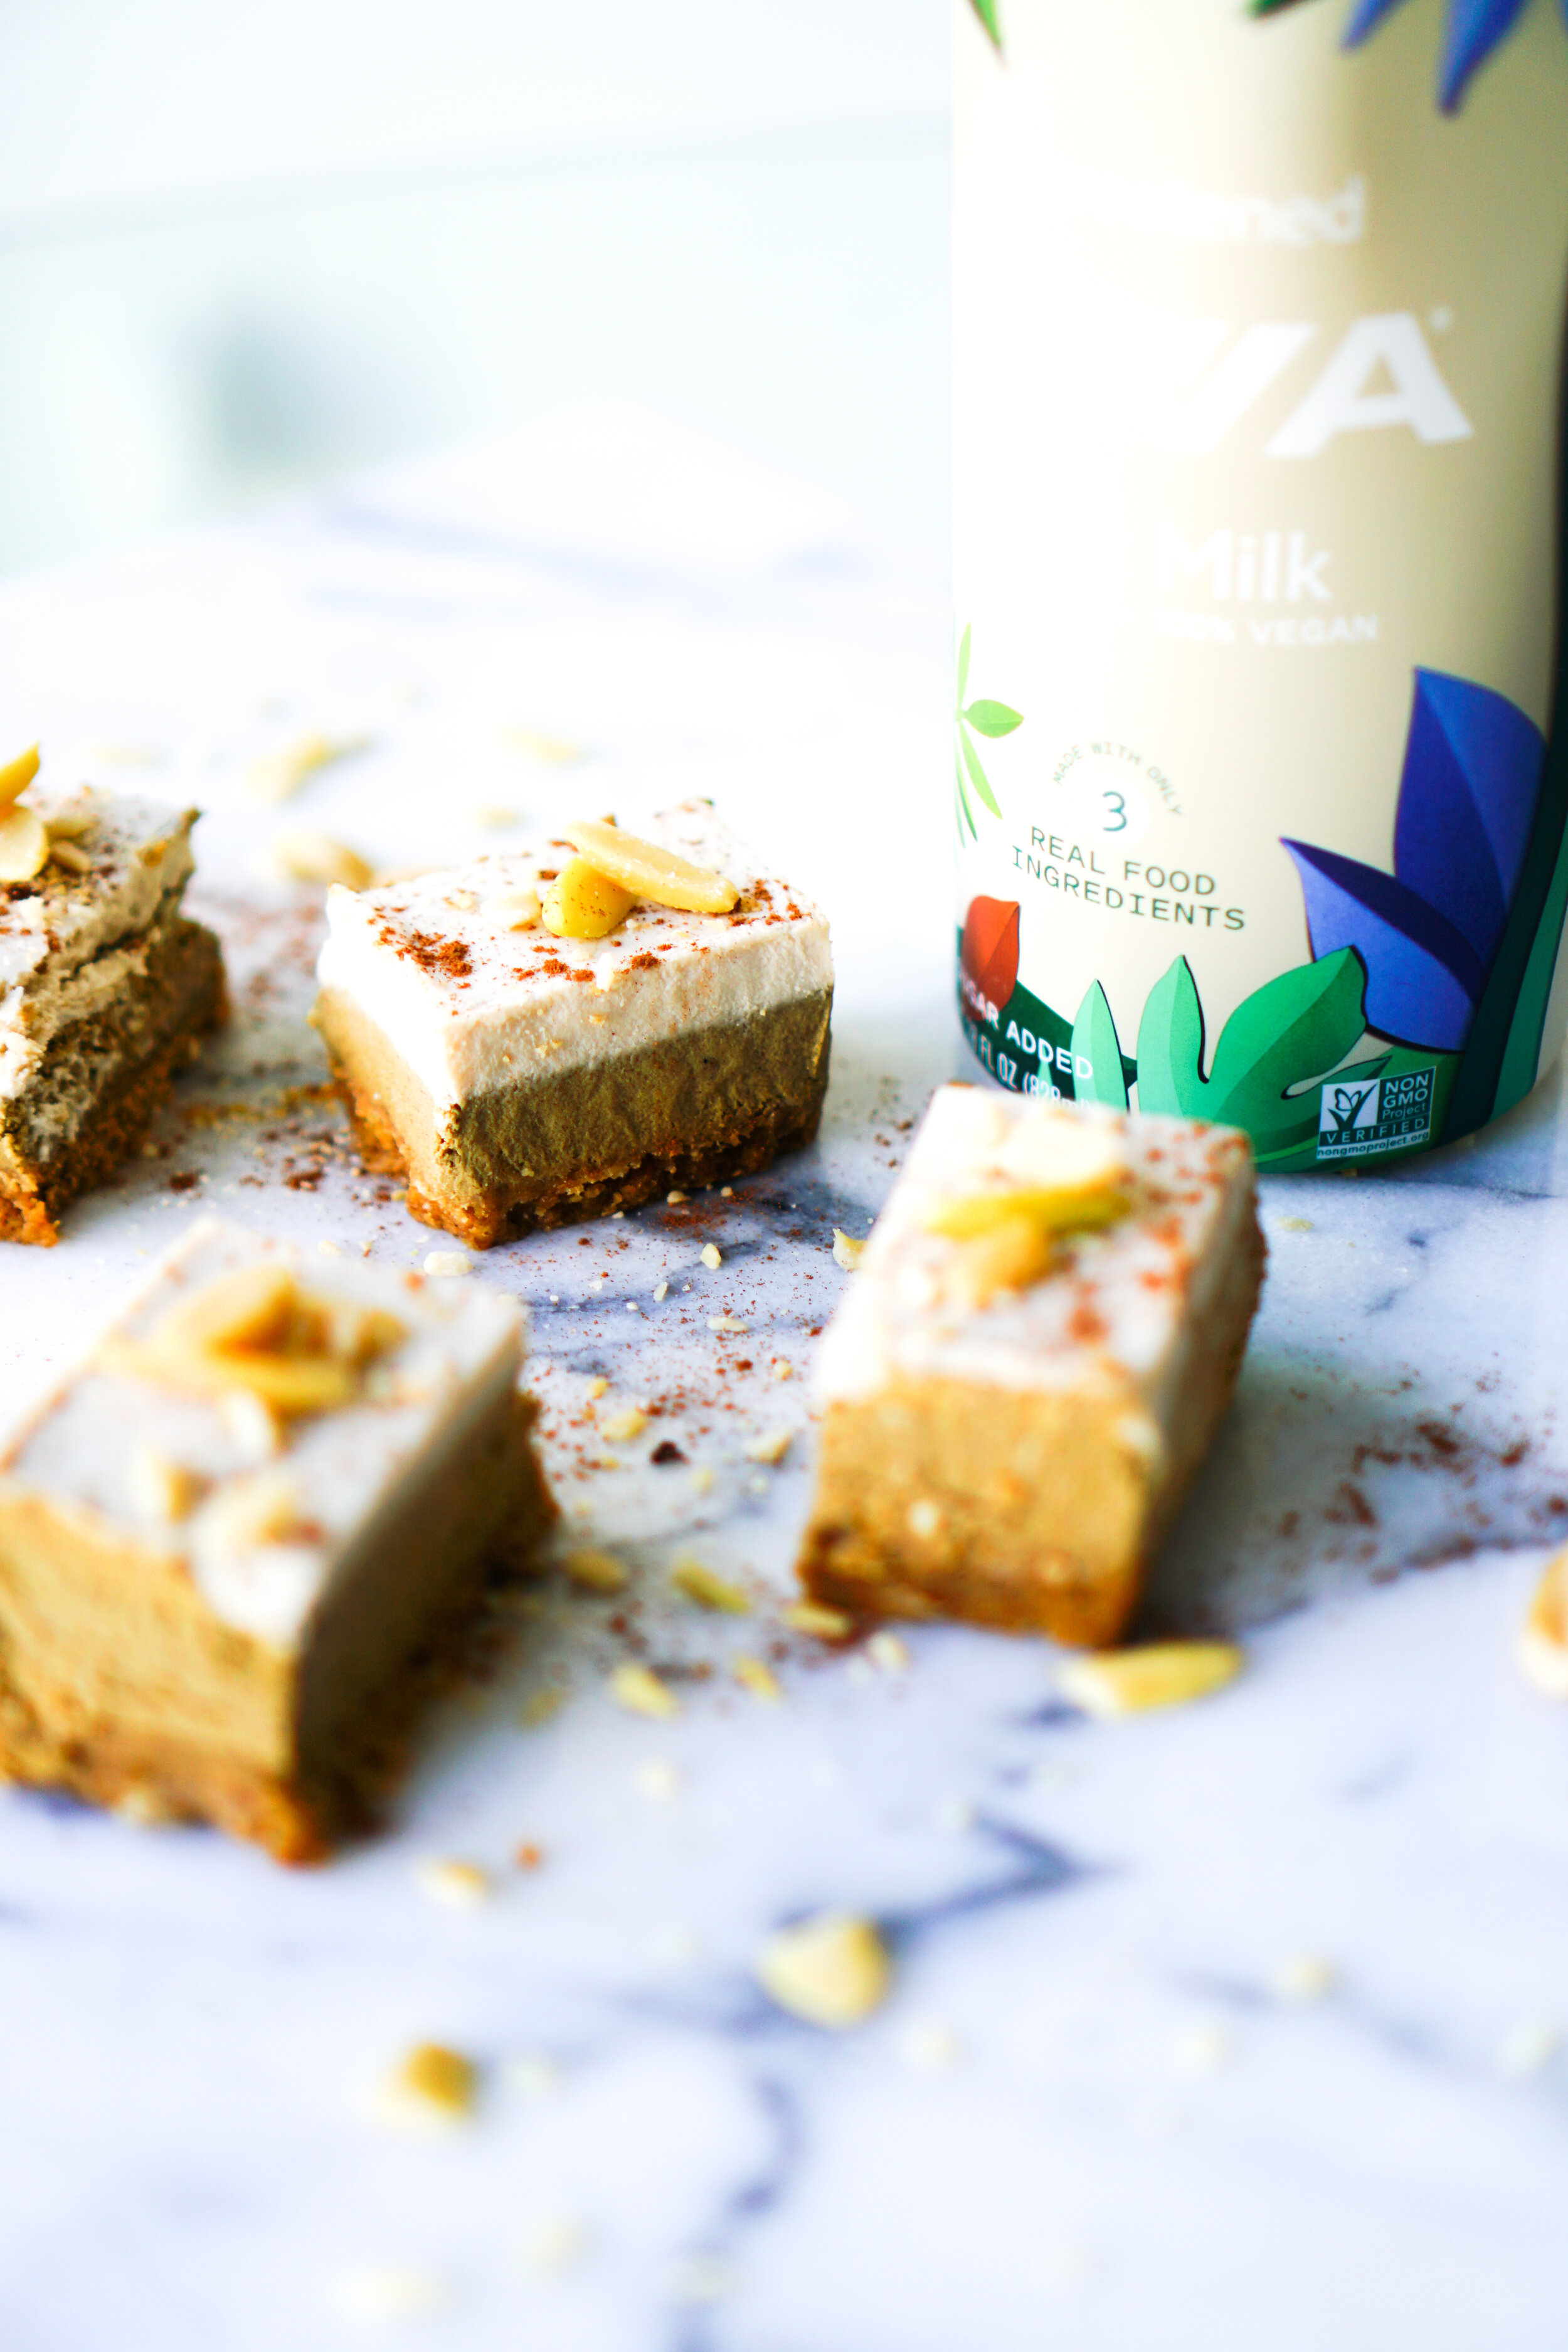
This recipe is used Lavva Unsweetened Pili Nut Milk, a plant-based milk that contains only real food ingredients and no added sugar. If you've never tried pili nuts, they are decadently smooth and what Lavva is made from. Pili nuts are the lowest carb nut on the planet and are high in magnesium and vitamin E.
Have I convinced you yet? Keep scrolling for the recipe.

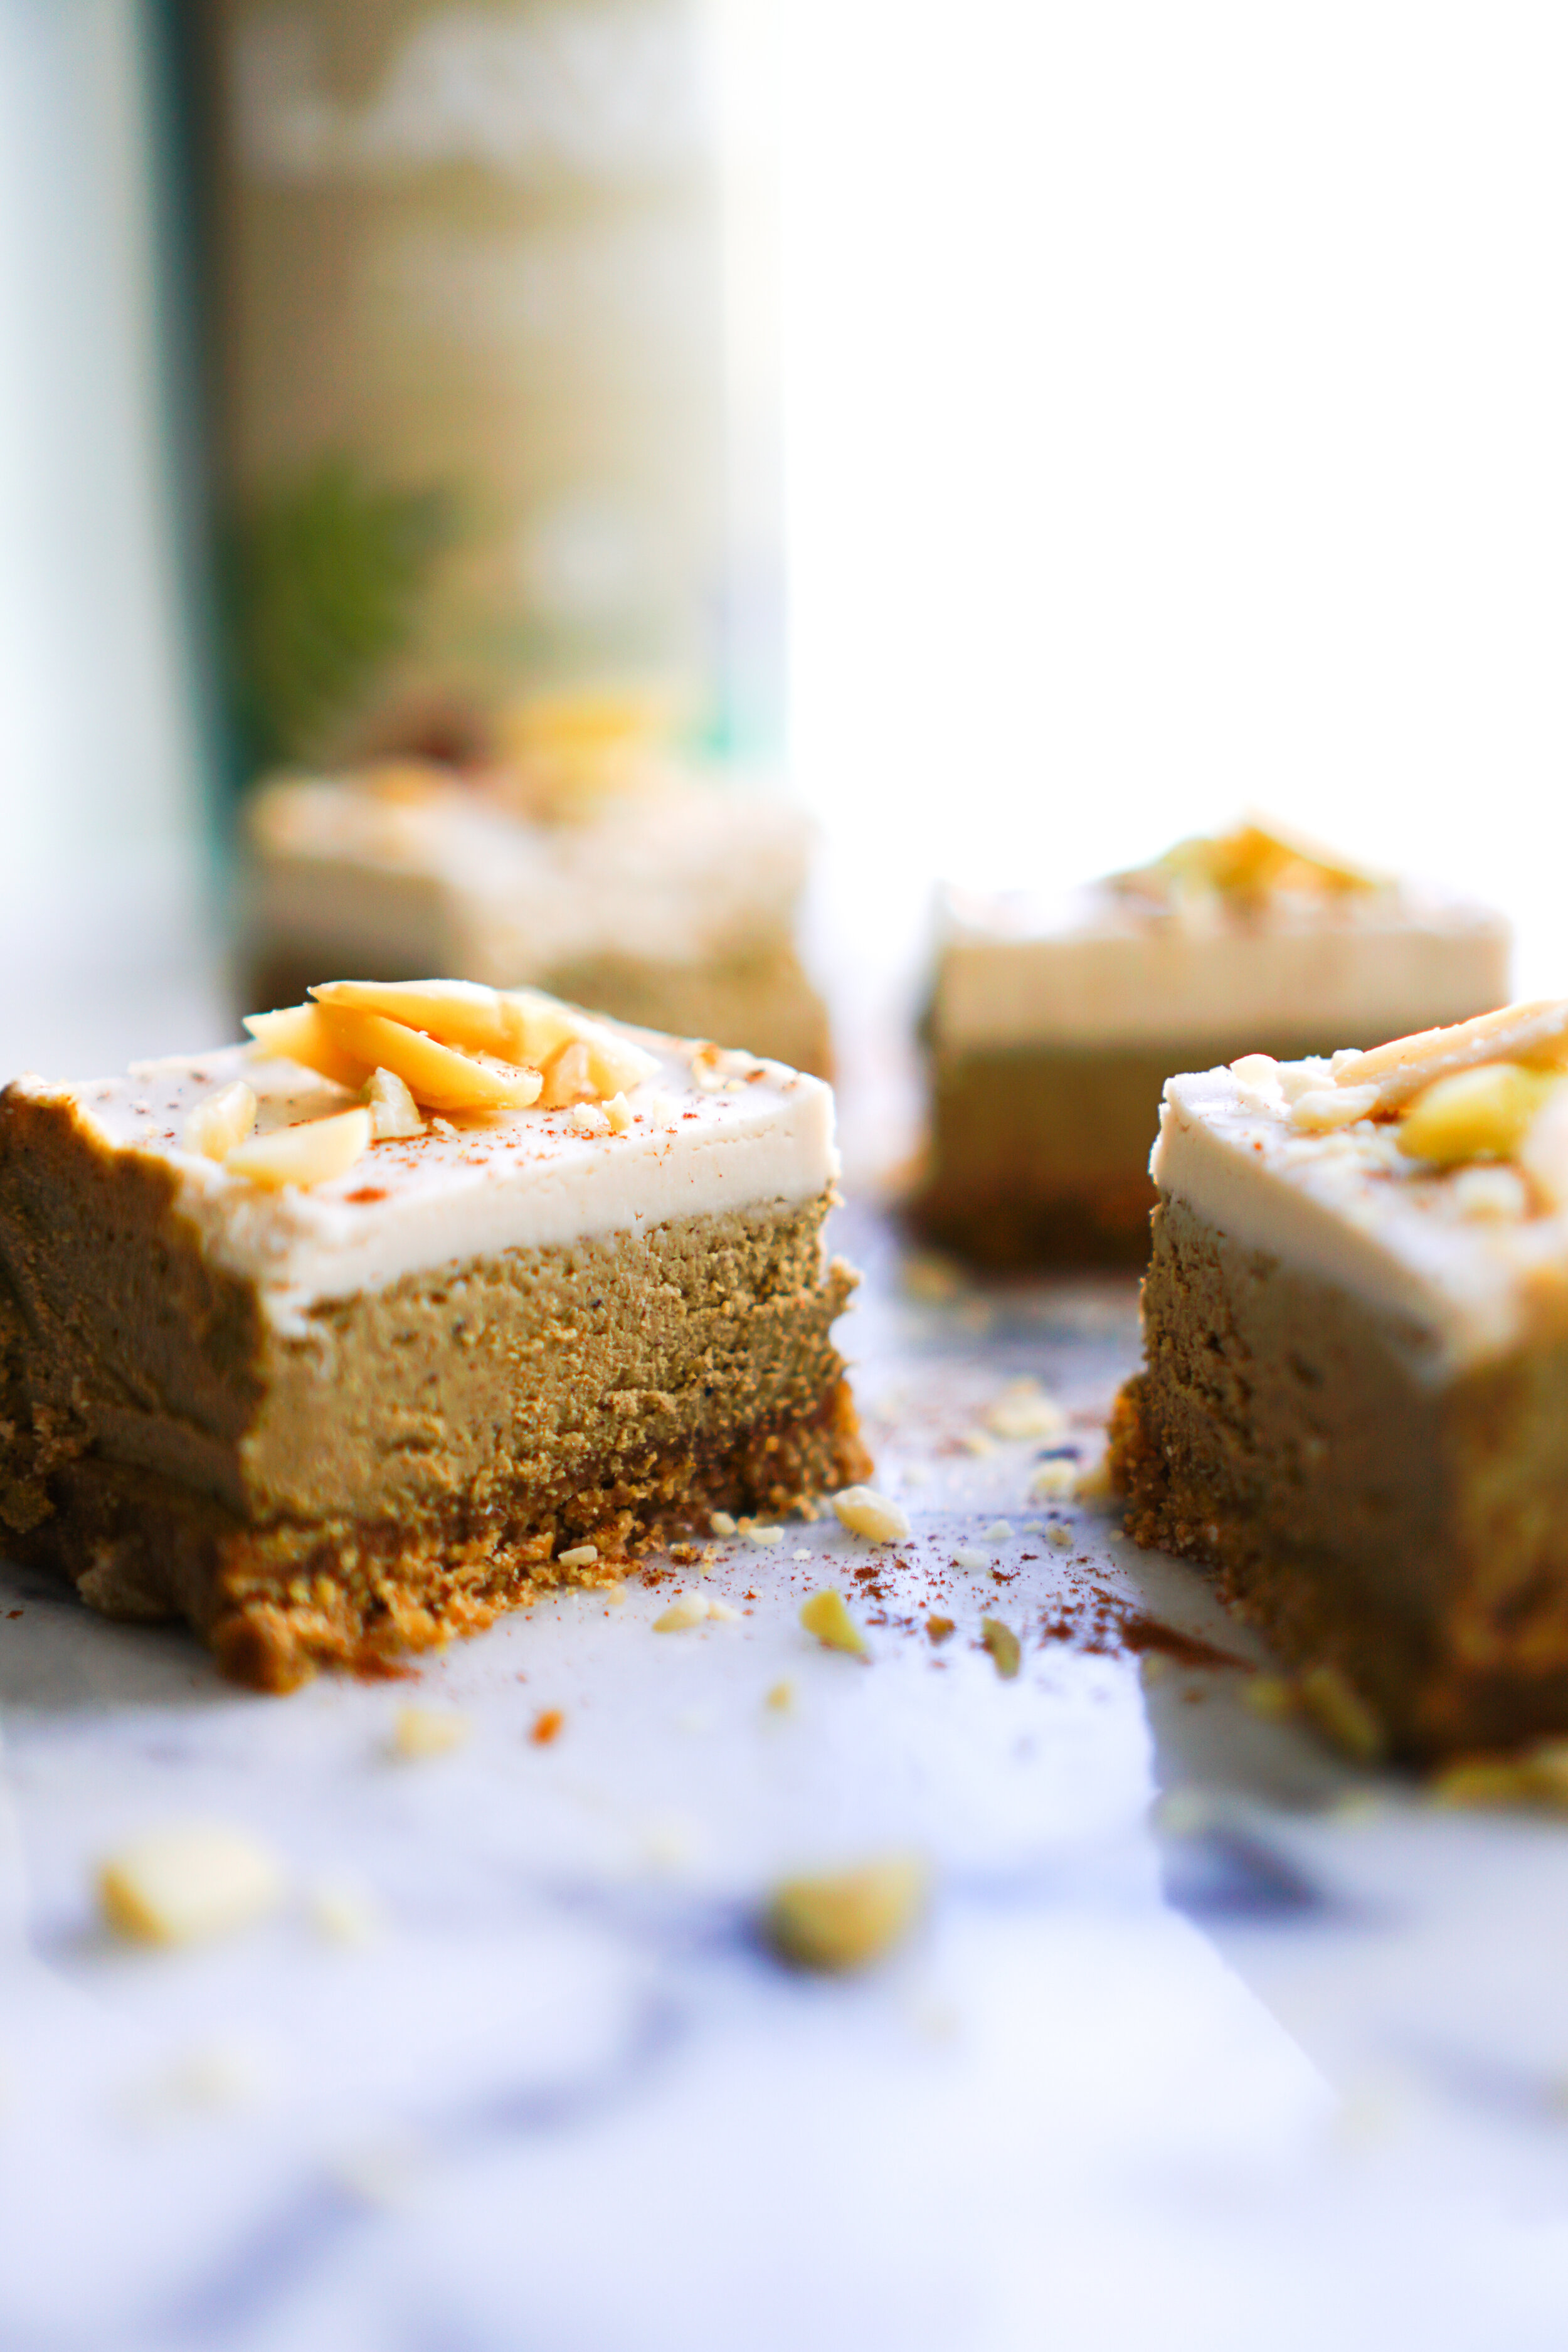
No-Bake Vegan Pumpkin Pie
Plant-Based/Vegan, Gluten-Free, Soy-Free
What You’ll Need
Crust
1 cup packed Medjool dates (pitted, soaked)
1 cups raw walnuts
½ cup pili nuts*
1 pinch sea salt
Filling
1 cups raw cashews (soaked in very hot water for 1 hour)
½ cup pili nuts*
1 lemon, juiced
1/3 cup Lavva Milk, Unsweetened
3 Tbsp melted coconut oil
1/3 cup grade A maple syrup
1/3 cup pumpkin purée
1 pinch sea salt
2 tsp pumpkin pie spice
1 tsp vanilla extract
Top Layer
1 container of Lavva Milk, Vanilla
1/4 cinnamon
2 tbsp Maple Syrup
Garnish
Cinnamon
Pili Nuts*
What You’ll Need To Know
Cover cashews with boiling-hot water. Let rest, uncovered, at room temperature for 1 hour. Then drain thoroughly and set aside. In the meantime, add dates to a food processor and blend until small bits remain, or it forms a ball. Remove and set aside. Add walnuts, pili nuts, and salt to food processor and process into a meal. Then add dates back in and blend until a loose dough forms - it should stick together when you squeeze a bit between your fingers. If too crumbly, add a few more dates. If too sticky, add more crushed walnuts. Set aside.
If using a springform pan, line with parchment paper. If using ramekins or muffin tins, cut parchment paper into circles the size of the base of your ramekins or muffin tins. Cut out two long strips of parchment paper per ramekin (if using) and lay them in an "X" shape at the base. Top with circle shape. This creates little tabs that make removing the cheesecakes easier to pop out once set.
Divide crust evenly among ramekins or springform pan, and press down with fingers to evenly distribute. Use a small glass wrapped in parchment paper, or the back of a spoon, to press down firmly, allowing some crust to come up the sides. Set in the freezer.
Once cashews are soaked and drained, add cashews and pili nuts to a high-speed blender with remaining filling ingredients and puree until very smooth for about 3 minutes. If it has trouble blending add a splash of Lavva milk. Adjust flavor/sweetness as needed.
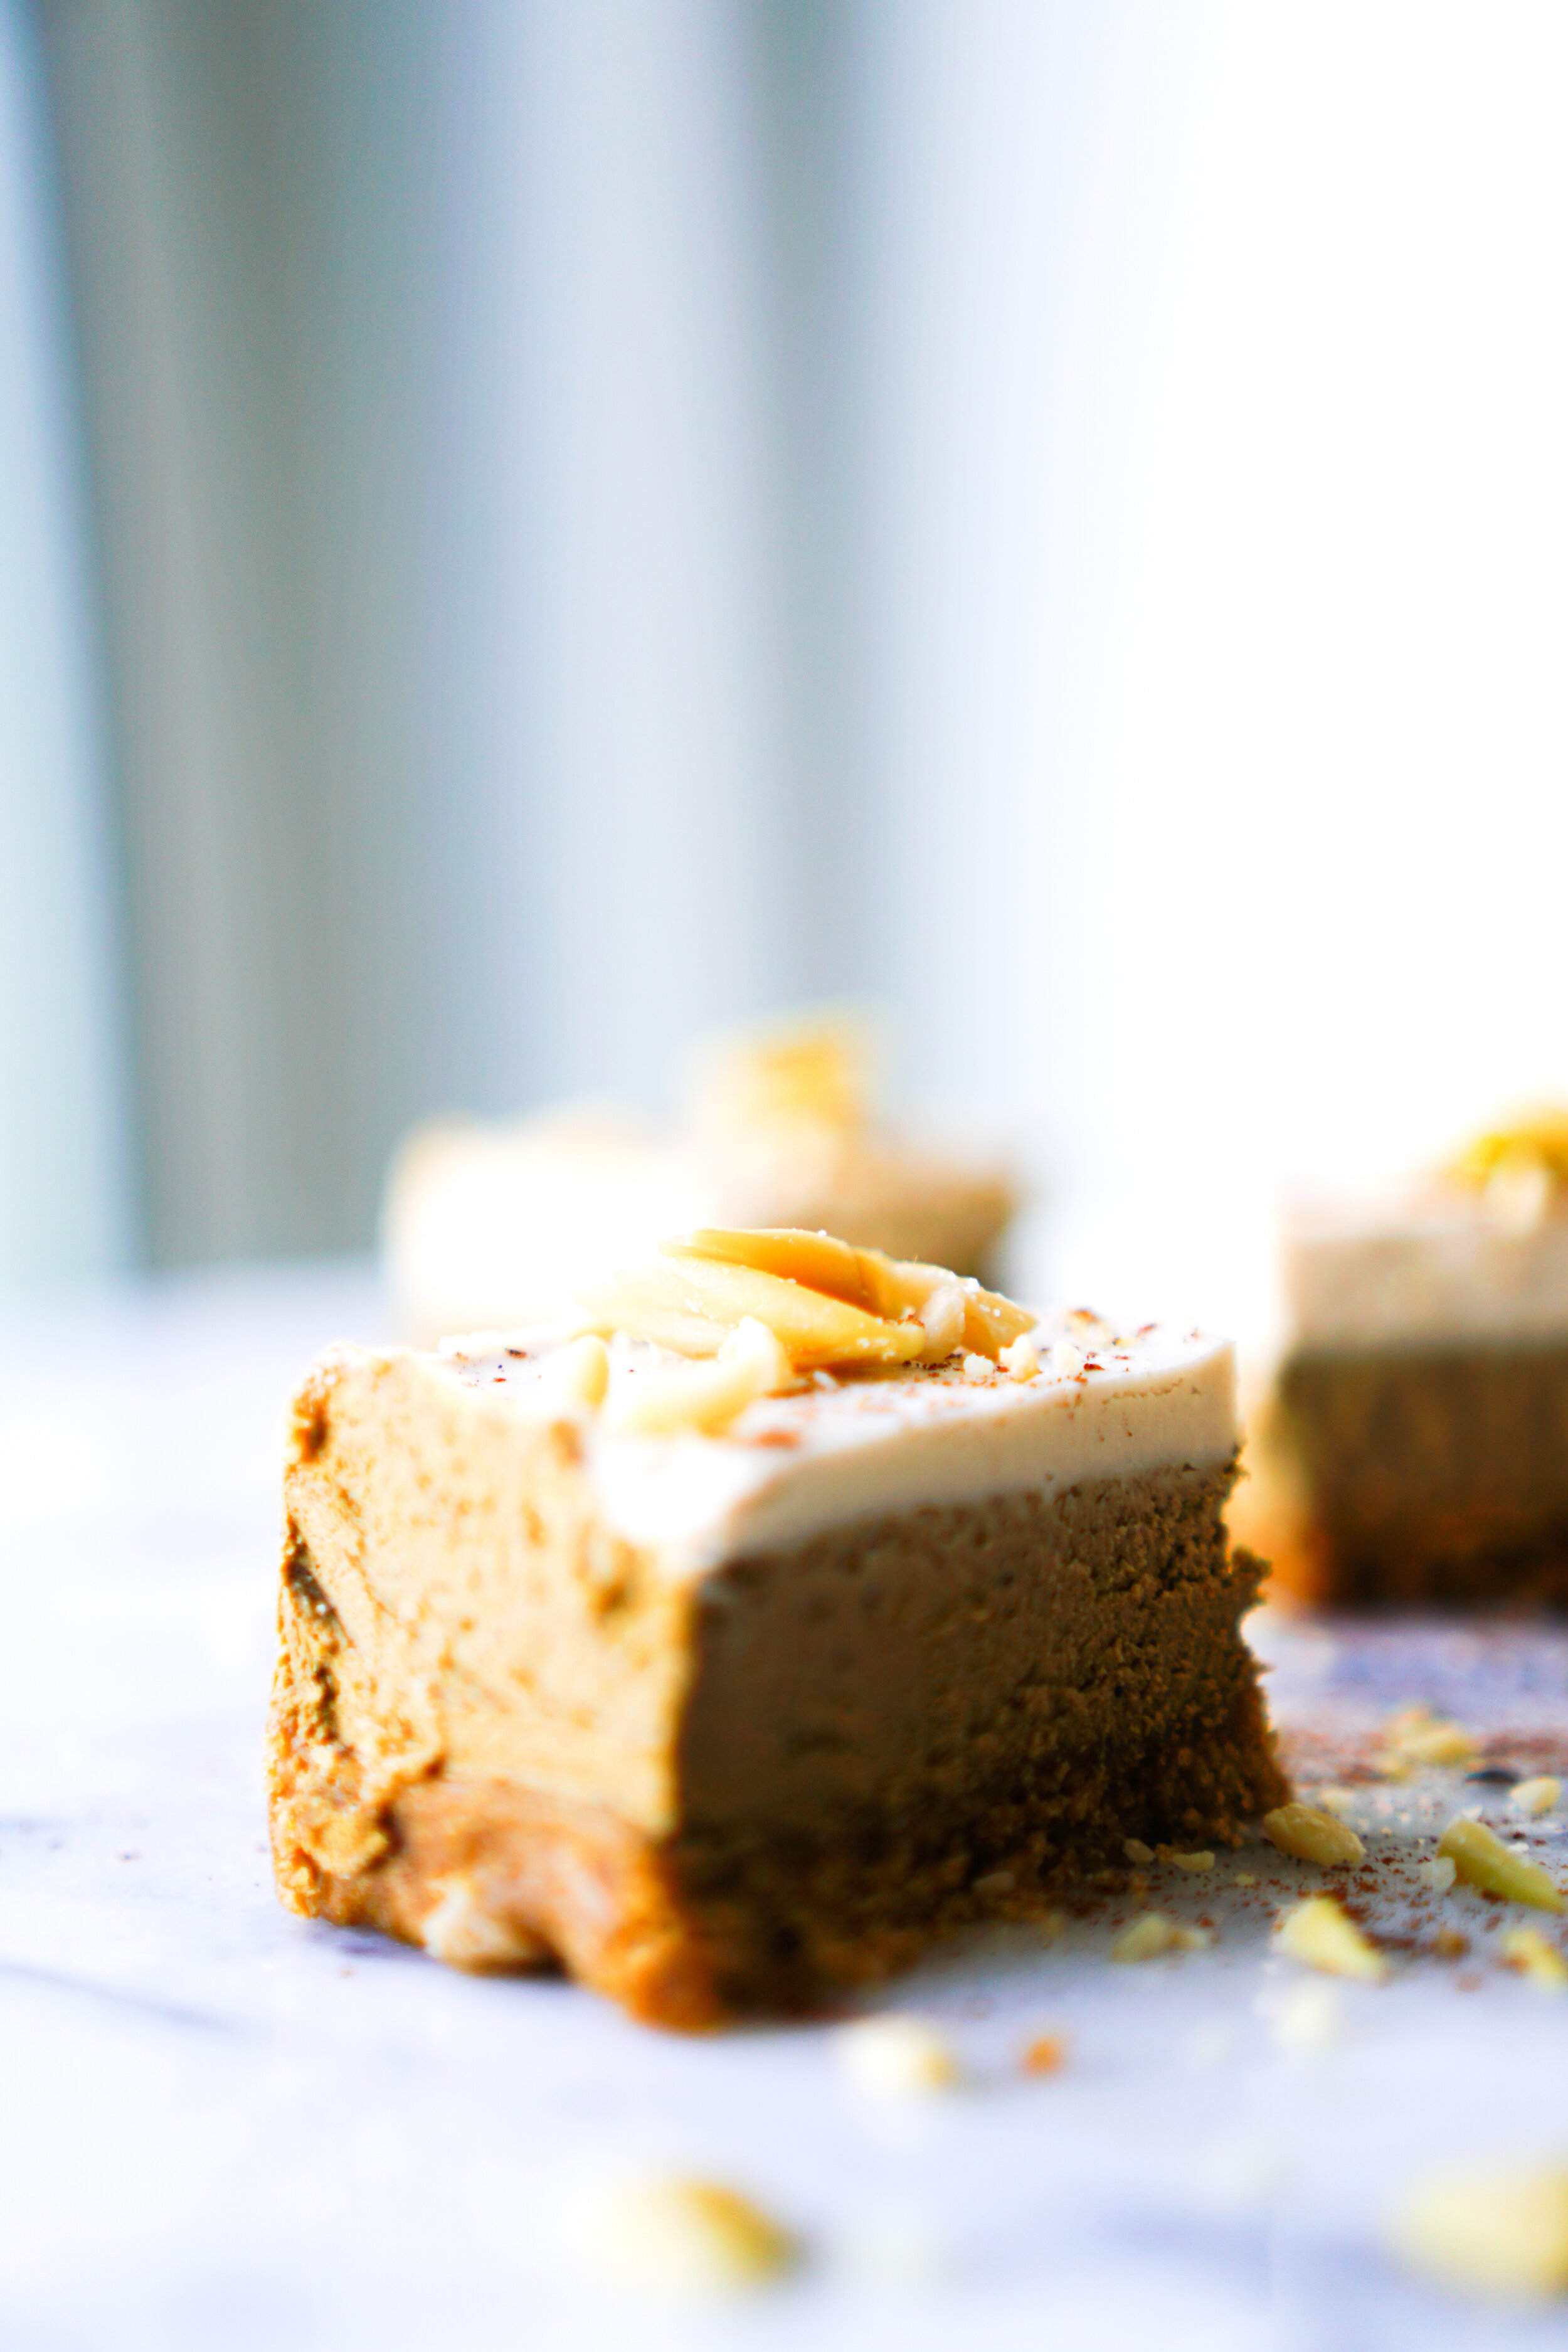
Divide filling evenly among the ramekins or parchment-lined springform pan. Tap a few times to release any air bubbles, then cover loosely with plastic wrap and freeze until firm - about 4-6 hours, depending on the size of the dish.
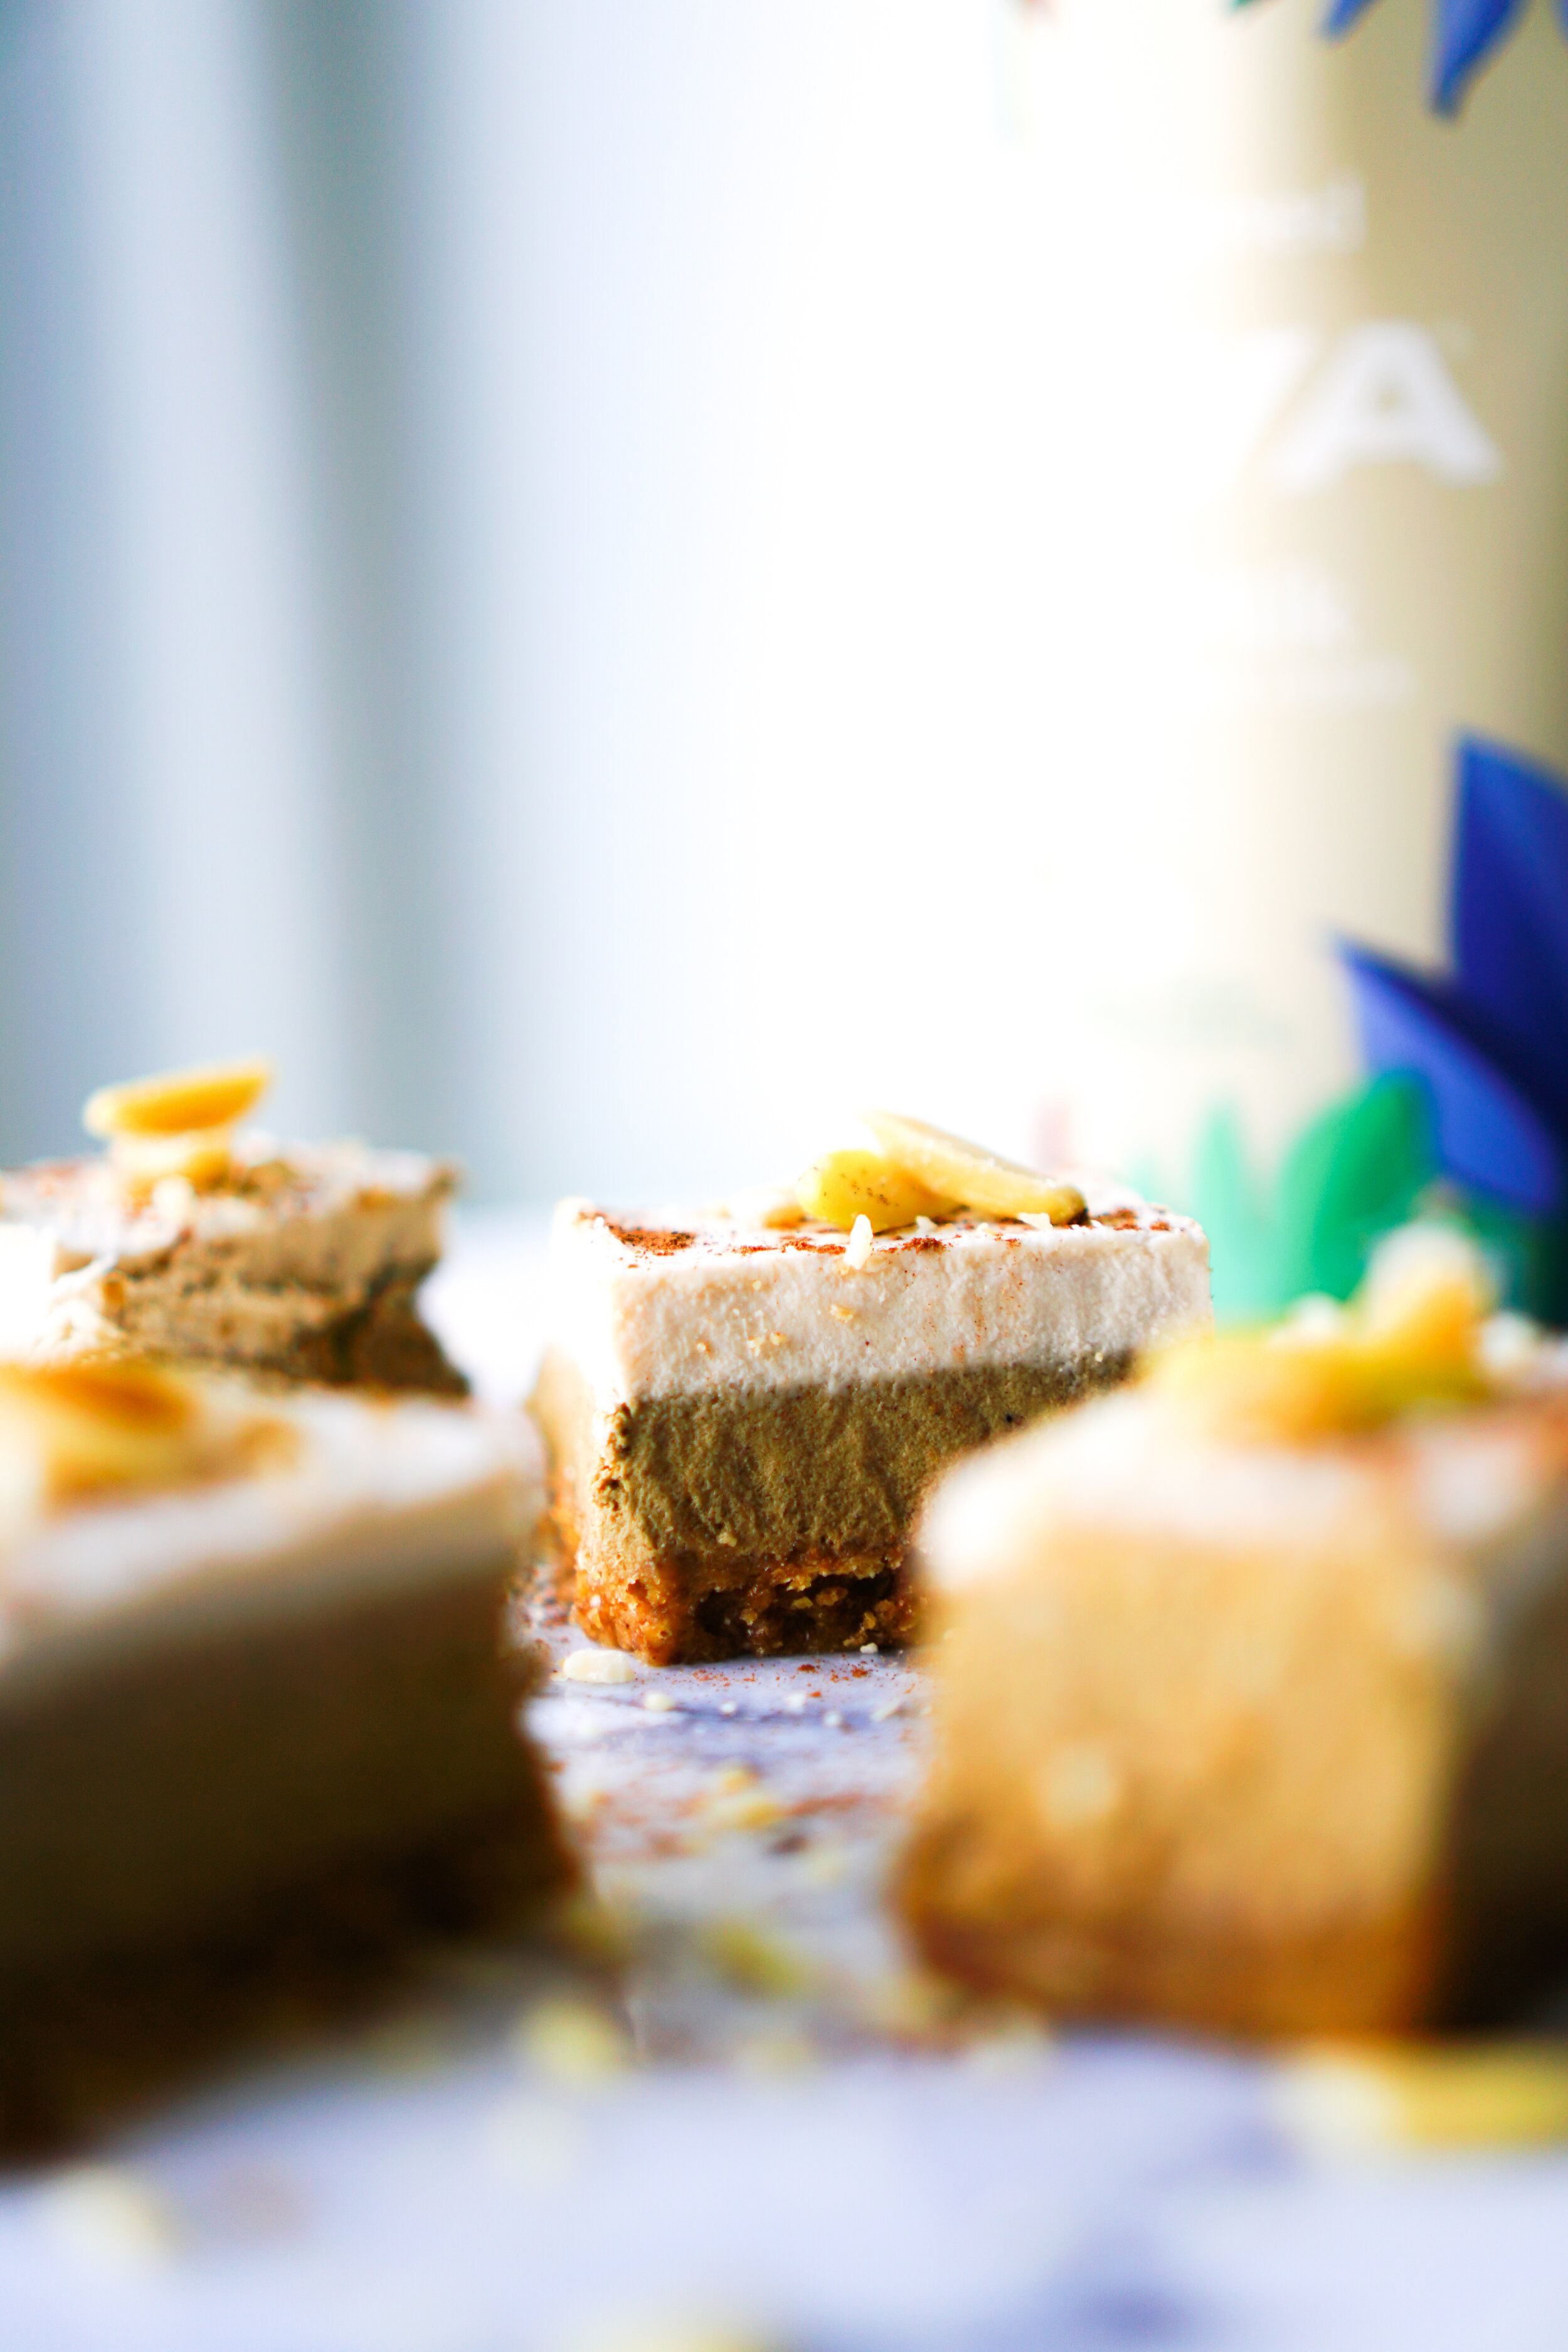
Once set, run a butter knife along the edge and gently remove by tugging on the tabs in an upward motion. They should pop right out. If they aren't quite set, pop them back in the freezer until firm. If using a springform pan, pop open and remove cheesecake and slice in squares.
Top Layer: In a mixing bowl, add in yogurt, cinnamon, and maple syrup and mix together. Once layer ontop and place in the fridge for 2-3 hours to set in place.
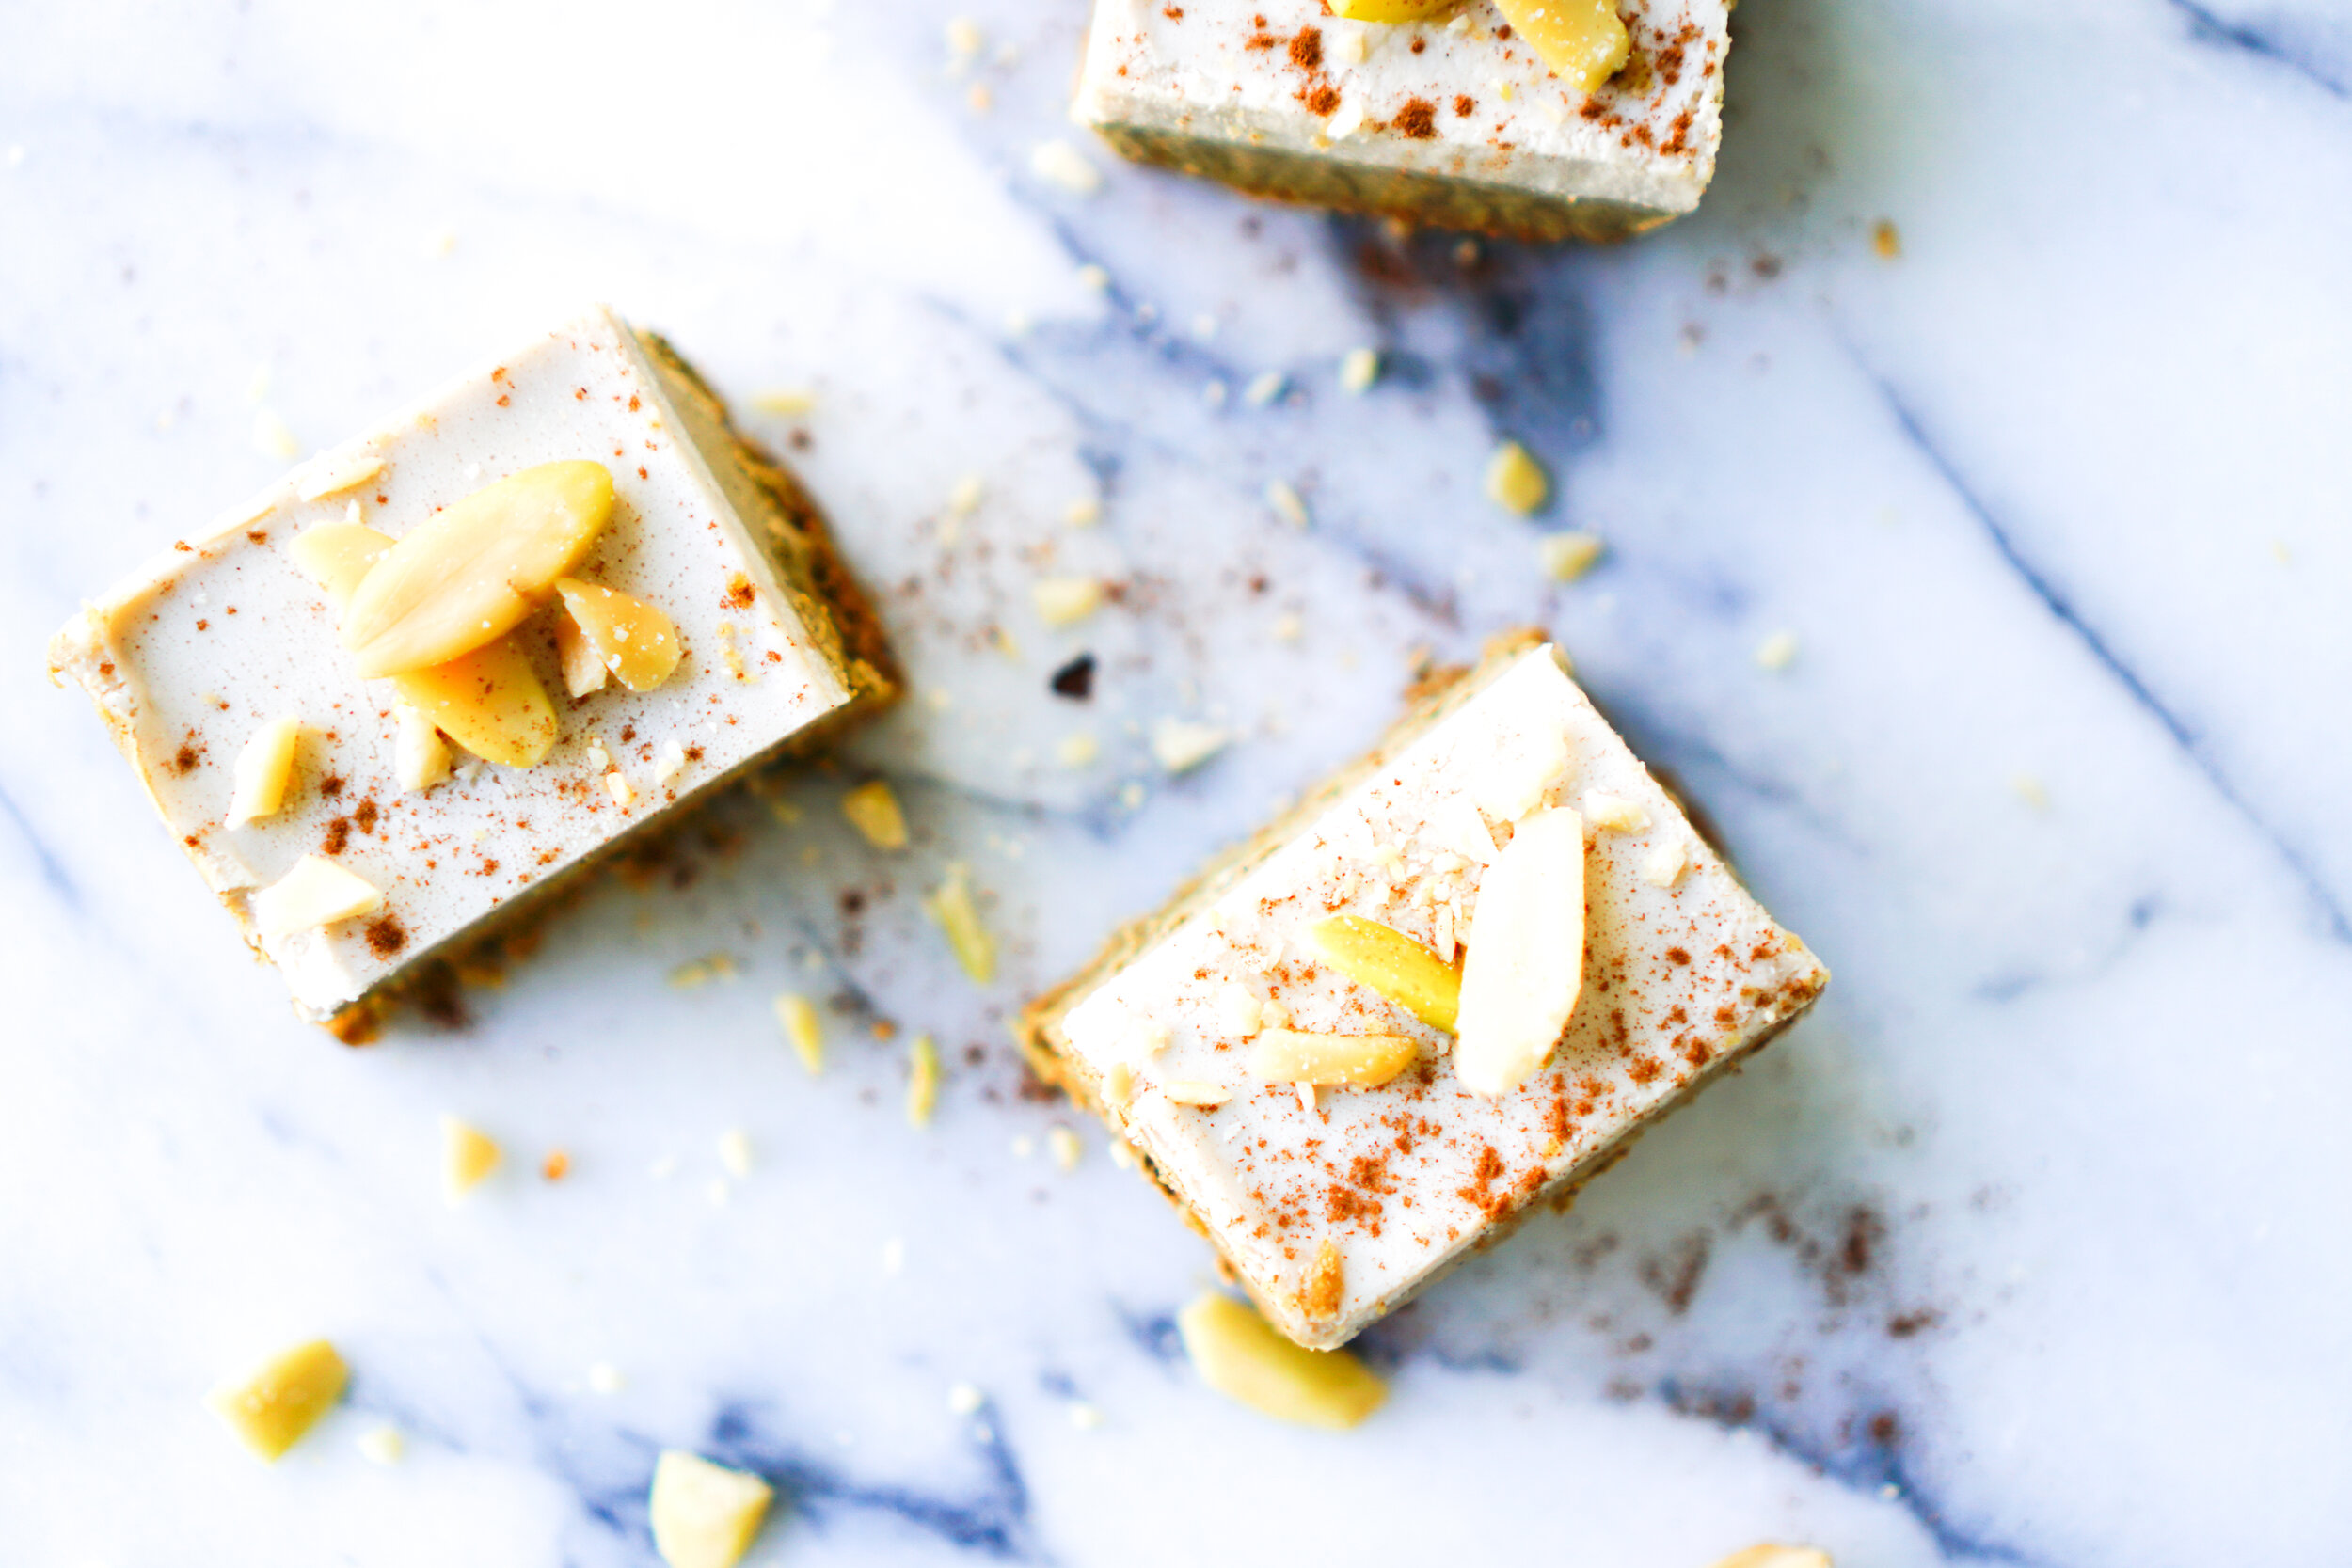
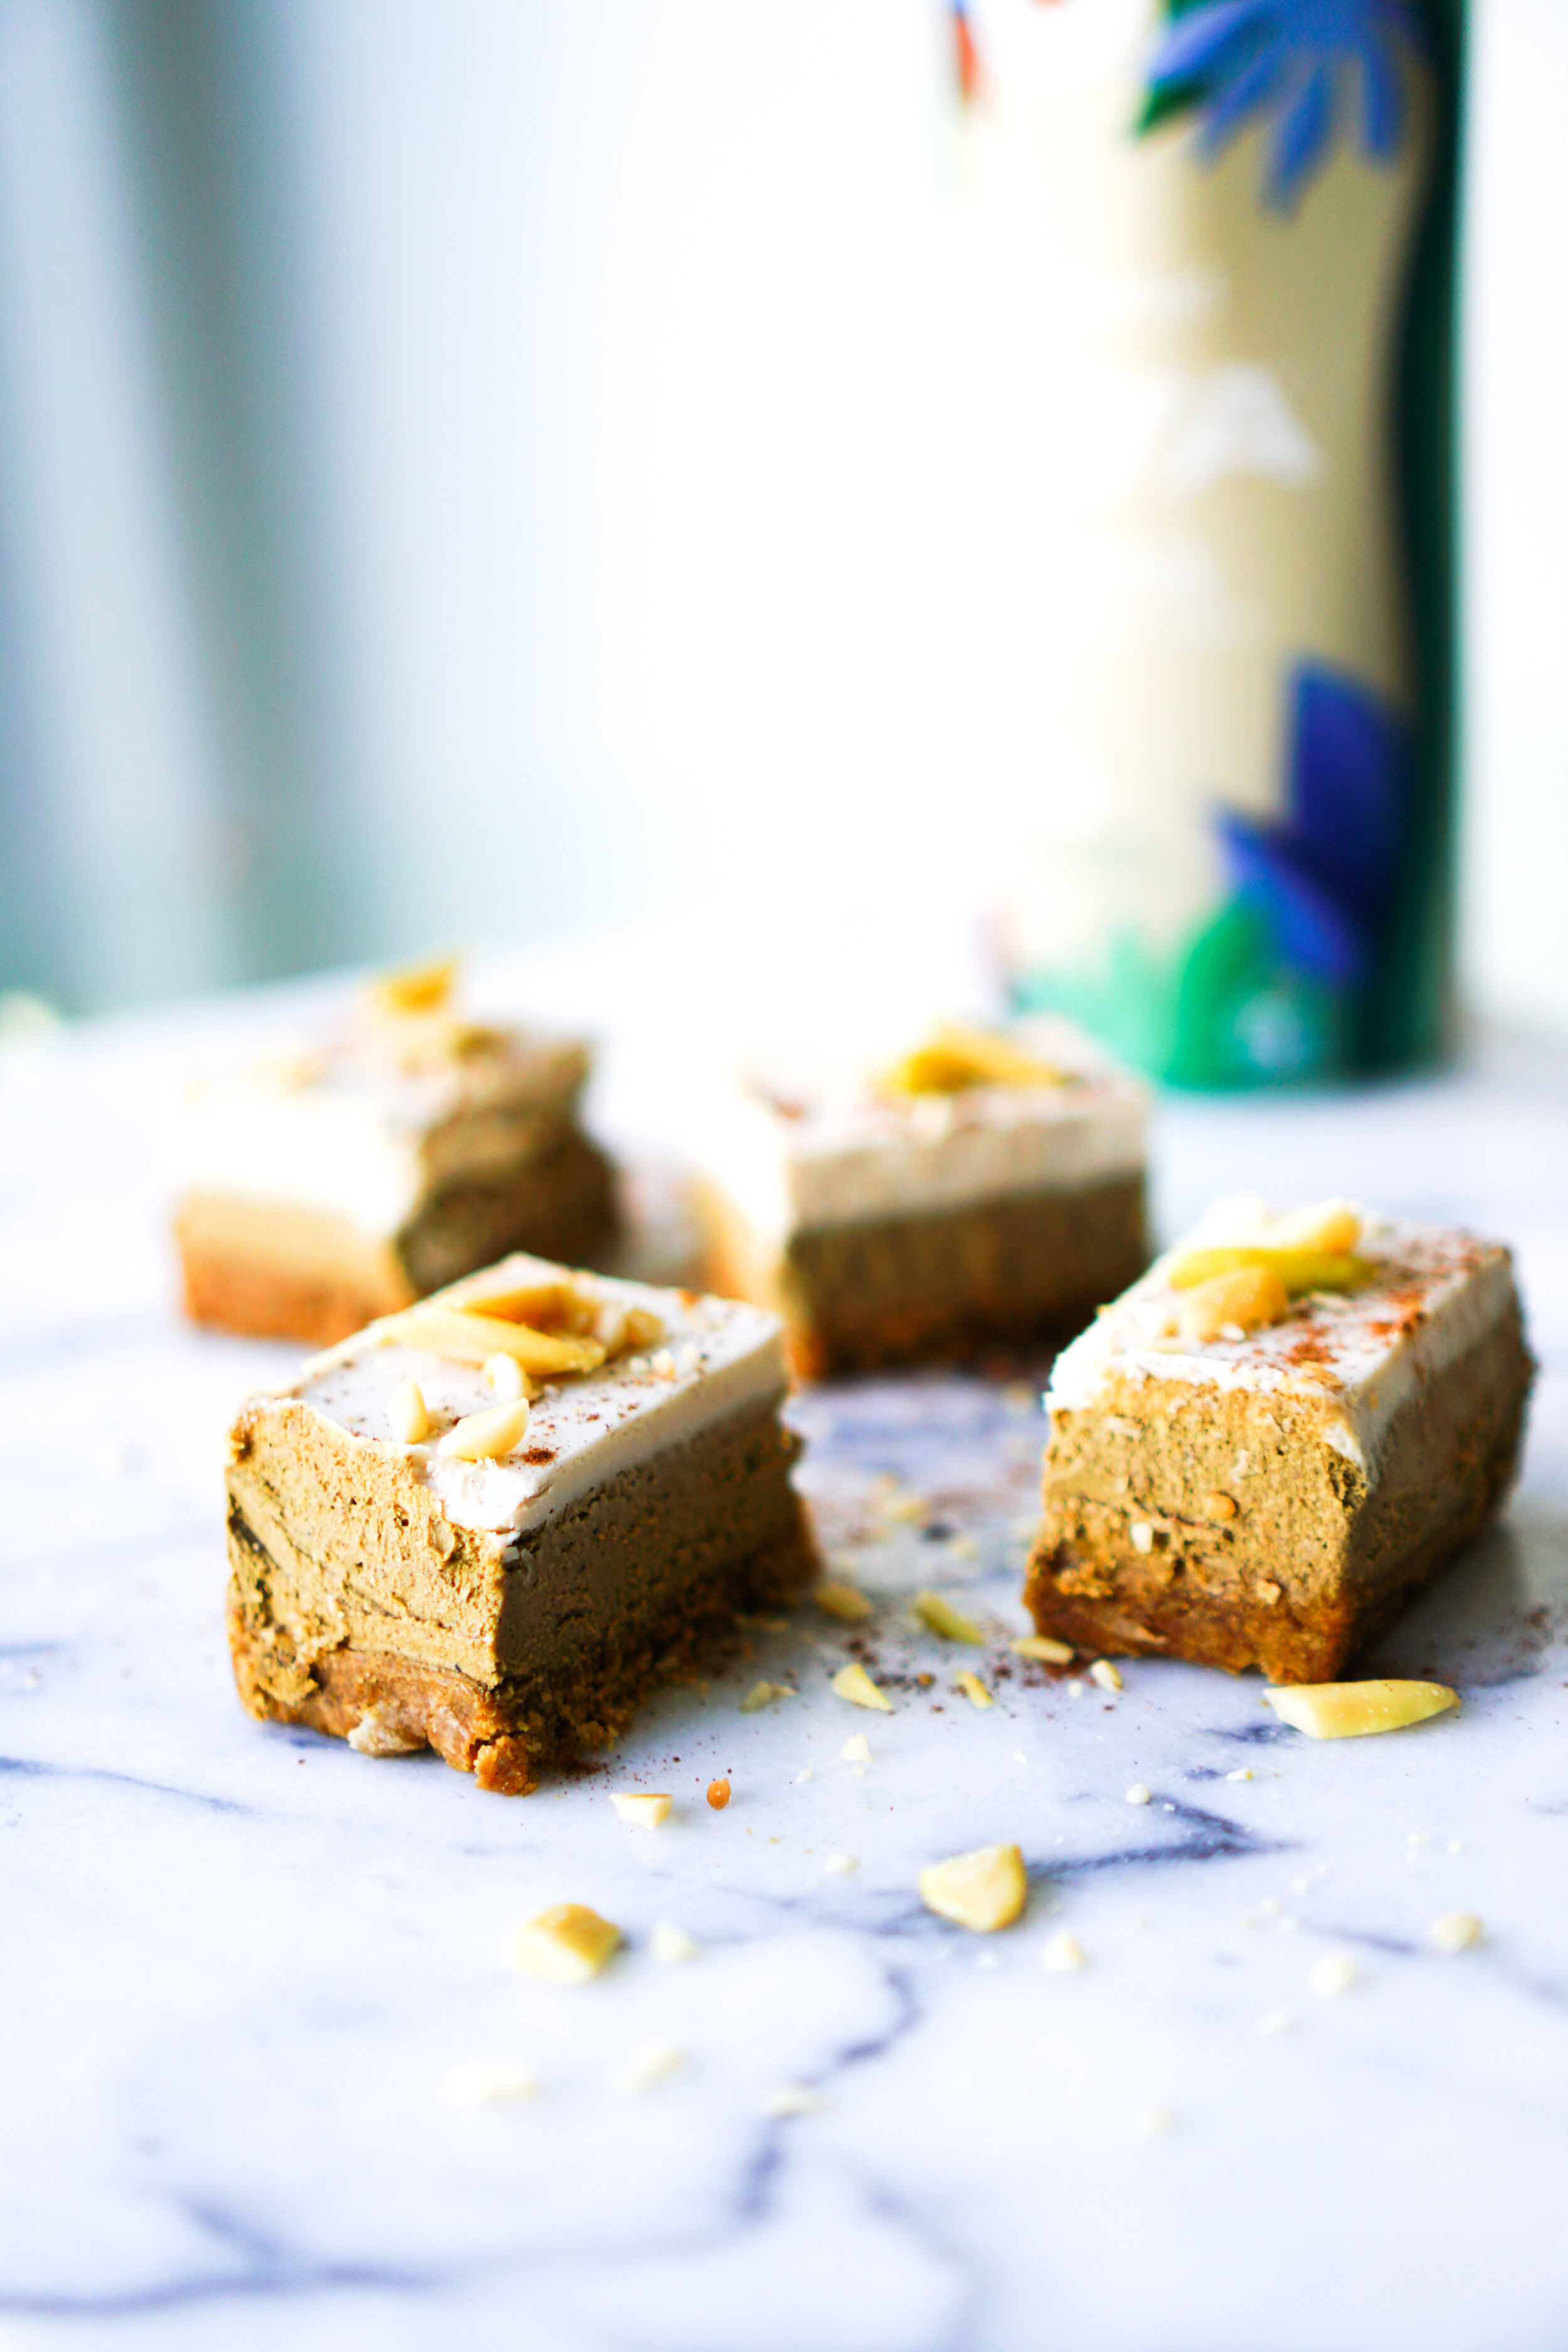
Serve, sprinkle cinnamon, and top with pili nuts. Enjoy!
Notes: Store leftovers in the freezer for 7-10 days, though best when enjoyed within the first 3-4 days. Let thaw at room temperature 15-20 minutes before serving for best texture.
*If Pili nuts can’t be found, use ½ cup raw soaked cashews or walnuts for filling and crust.
** I used a springform pan for this recipe.