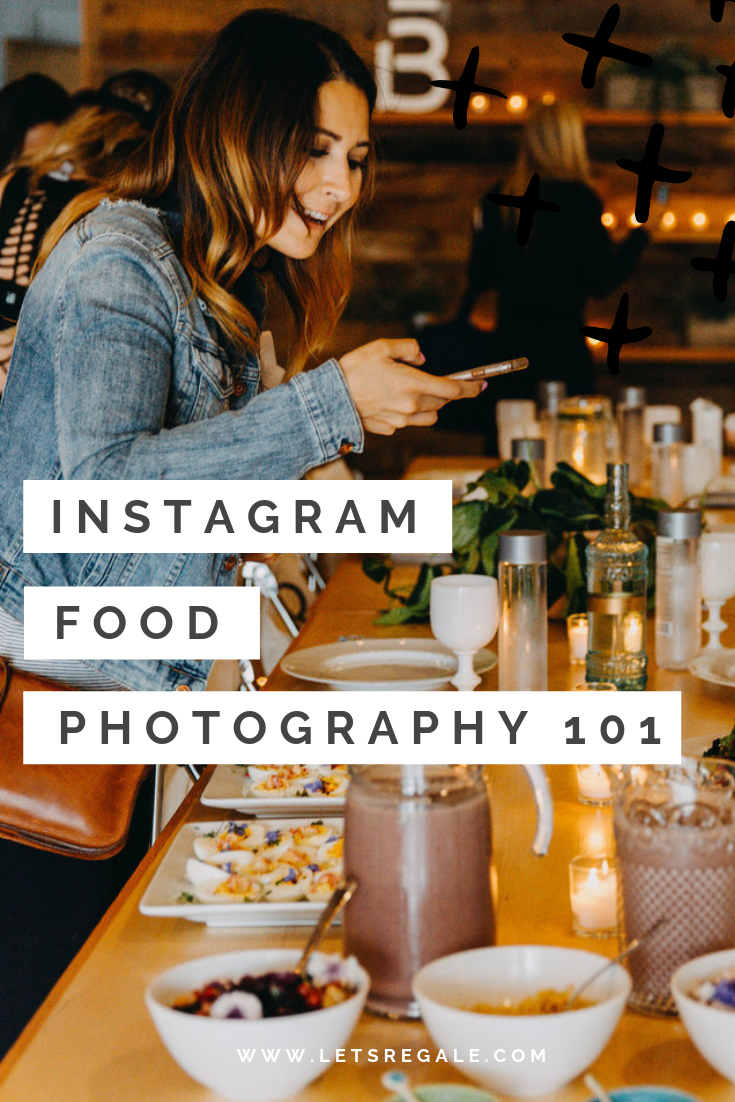
Instagram Food Photography 101
So, you want to know my tips on capturing the best Instagram-worthy images of those delectable bites we all want to savor…and share? Today, I'm sharing with you my Instagram Food Photography tips. Happy eating, friends….but first, a photo!
Keep an Open Mind
Some of my favorite photos weren’t taken in restaurants. While traveling, I always looked for new opportunity whether it was a roadside fruit stall, local markets or having drinks at a bar.
Lighting
Definitely the most important! You will see on my Instagram that I try and avoid evening shots. Even if you’re in a restaurant with bright lights, the food never looks the same as it does with natural light. Morning light is always best; always try and get a window seat at a restaurant! Try and avoid direct sunlight, too, as most of the time it’s too harsh on the food and dish.
YOU MIGHT ALSO LIKE…
Angles
This really depends on what you’re shooting. If I’m eating with a few people and there are plenty of dishes on the table, a birds eye shot always looks great. However, we all want the drool-worthy image, just don’t stand on a chair in the restaurant…just don't do it... EVER! Restaurants hate this and this is great way to really annoy them and those dining at the restaurant.
If I was eating a sandwich or burger, you would only see the buns from above so I would either shoot it up close from the side or (don’t judge) hold it in the air and take the photo. Some of my most popular photos have been the “held in the air” smoothies, ice cream, burgers, etc. As long as you have a decent background!
If I have a really special dish that deserves a photo on its own I will mess around with it until I find the right angle.
Editing
I will rarely use an Instagram filter. If I have taken a photo in the right lighting then I usually only use VSCO to edit a bit. On Instagram, I'll mess around with brightness, contrast, and sharpen. I you want to find out more of what my favorite editing apps are, you can find more on that here.
Happy 'graming!

